Tools:
Vintage Paint (2 colours…for this project we use Midnight & Cashmere from Reloved.ca)
Stencils
3 Small Rollers
Paint Brush
Insurance Coat (we use the Reloved Satin finish for this project)
Wall Filler
2 Sanding Blocks
Ok…now that you have the tools…let’s get painting!
With any good project prep is key.
Tip: with Reloved Vintage Paint prep is easy and fast. All you have to do is wipe down the product. Make sure it’s clean. You DO NOT have to sand or prime to get it ready.
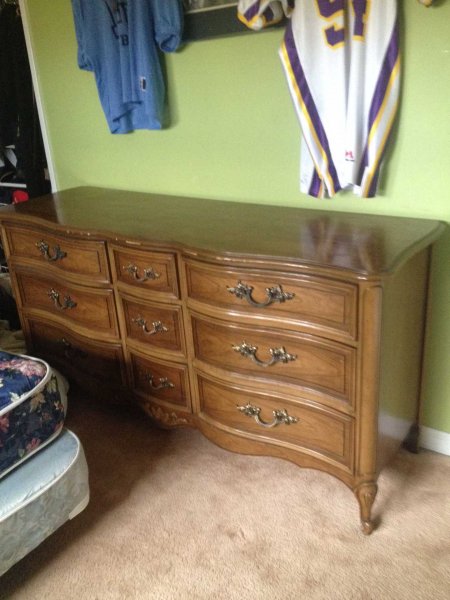
Once the piece is ready, decide what you want to do with the drawer pulls first. If you are going to keep the vintage ones just remove them and set aside to paint separately, but if you want to add bling or something special remember to fill the holes with wall filler so you can add new ones for the pulls you pick. There is nothing worse than going to add the finishing touch and they don’t fit. Many of the older pieces you are drawn to have unusual sized pulls.
Pro tip: Line your paint tray with with press n’seal that way when you are done just remove and throw out instead of spending time cleaning your tools.
Use your brush to get the paint in all the edges and grooves…use the roller to apply the rest of the first coat.
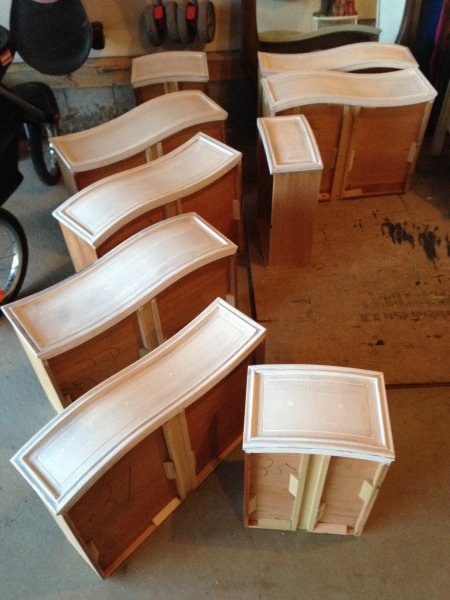
Once you can run your hand across your DIY piece without getting any paint on it, you are ready to go on to the second coat. Once the second coat is dry, the real fun begins.
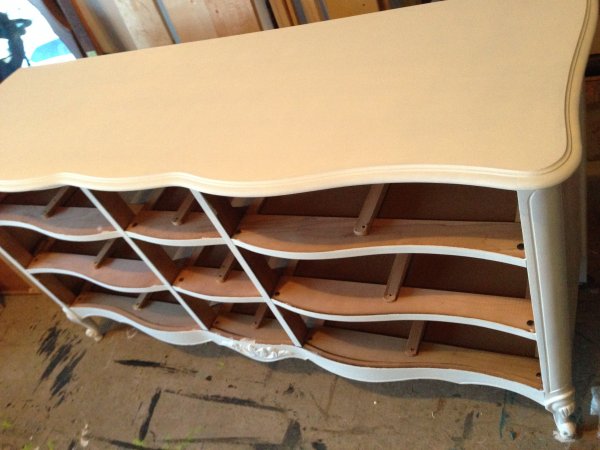
This piece was being transformed in to a change table for a baby’s room. We wanted to add a little flare to it…easy! That’s where the stencils come in and don’t be afraid of being perfect. Just rotate the stencil over the piece rolling your second colour choice over top. Don’t worry if a little pools or goes over the edge. Painting means nothing is wrong, you just work with it.

Once the entire surface is painted it’s time to rough it up. Take your sanding block and rub all the edges of the piece. That’s the best way to get an antiqued look without going overboard. Use your second sanding block to work away any of the paint blobs, smears, or bad edges on the letters. This will make the piece look worn and help make the lettering more “a part” of the piece. I often use a hand sander. It makes the job quick and takes out the need for the arm power.
All that’s left is to seal the piece. We used the Reloved Insurance Coat in a small paint tray and rolled it on or you can apply with a paint brush. This will make sure the piece can stand up to anything. By adding some funky new drawer pulls the piece is finished and ready to live it’s new life with a new baby.

If you are interested in Reloving, go to our site www.reloved.ca where you can find all the products you need to get started. And please send us your project pictures so we can share them.
Reloved is Canada’s trendsetting vintage paint line for women with a desire to create, up cycle and work with quality. It was started from a desire to relove old furniture to create new pieces. Always searching for the best paint to get the best results, they’ve created Reloved, and they love sharing their passion with others.