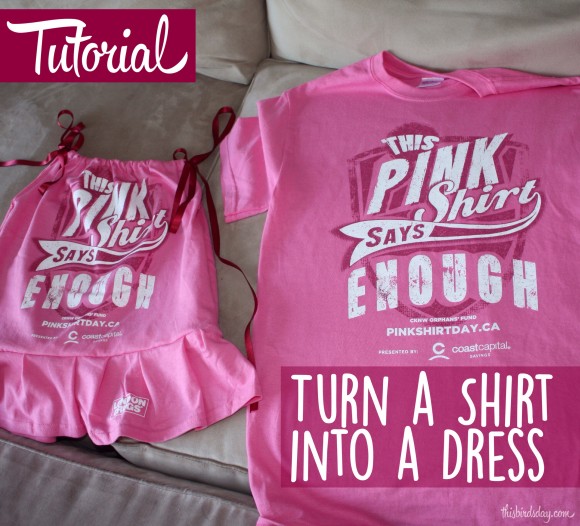
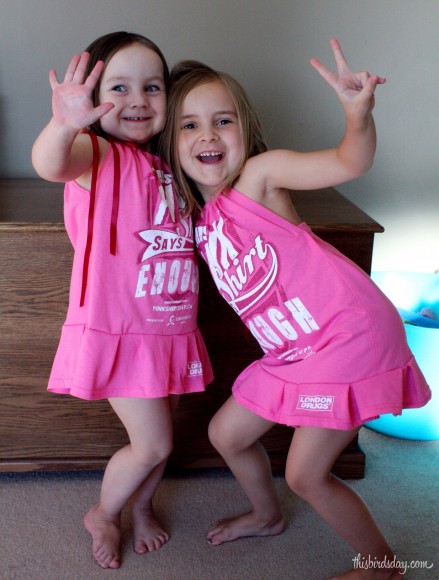
This weekend I turned two Pink Shirt Day shirts into dresses for my daughters in celebration of Pink Shirt Day. For more information on this amazing initiative that London Drugs is involved in, you can read my post on Pink Shirt Day.
To start, I loosely followed this tutorial on turning a t-shirt into a tank top. By ‘loosely’ I mean I looked at, pulled out my sewing machine, scissors and thread and hoped for the best.

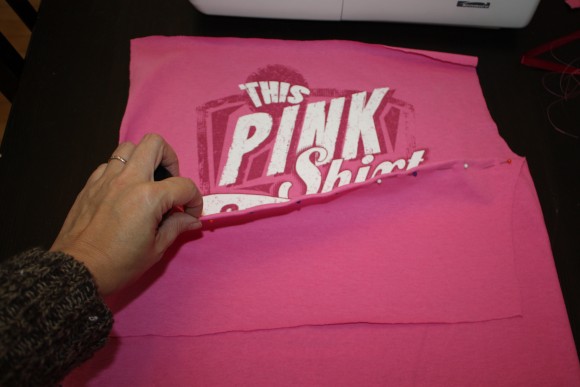
From here, I sewed two lines on each side of the shirt to make it smaller so it would fit my girl’s bodies better.
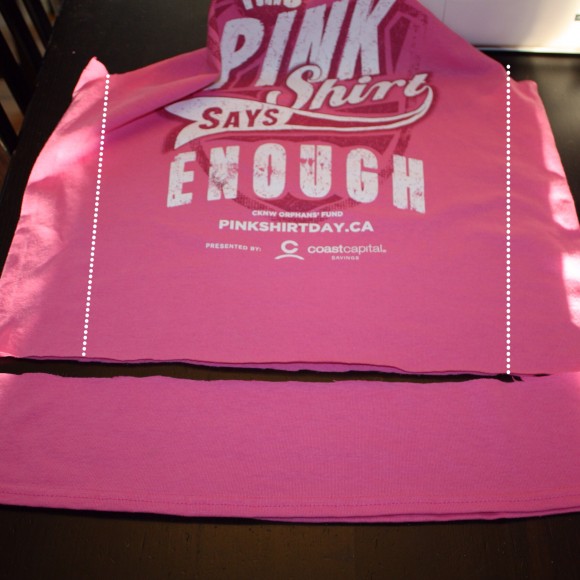
After you cut the bottom off, sew two vertical lines to make the dress fit your child better.
Then I took each sleeves and cut the seam off each so that it could open up, and I cut one side of the bottom strip of the shirt so it too would open up. Then I sewed the bottom strip to the strips from the sleeve to create a larger base. I also sewed a seam to close it back up into a circle.
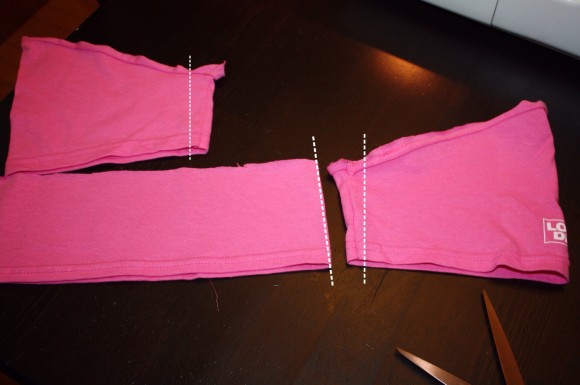
Cut along the dotted lines then connect them together to create a large base so you can create a ruffle.
I then reattached the larger bottom section to the bottom of my dress and folded it over itself every couple of inches to create the ruffle that you see.

Then my dress took on two options. The view from the back shows one is backless and the other has a back. Or in other words, one attaches by tying two ribbons together over the shoulder, and the other ties one ribbon to itself behind the neck.

Simply fold the top of the dress over the ribbon and sew it across being careful not to catch the ribbon in the sewing machine so that it moves from side to side. You can sew a small knot into the center of the ribbon to hold both sides into place when you are done.
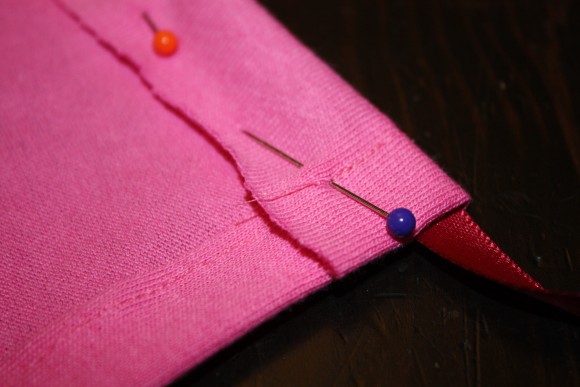
If you are keeping the back attached, sew the top the same way on both sides. If you are leaving it backless, simply fold the back section back and sew a seam, then I pinched it in at the sides (under the arm) and sewed it together.
I left the ribbon long as I want to sew it with the same thread colour when I cut it but you can chop it back to any length.
I hope this gives you some ‘loose’ inspiration. Remember to head over to London Drugs and pick up those shirts.
Sheri publishes, and writes at This Bird’s Day where she shares all of the thoughts in her head without the voices. Sticking mainly with content for Canadians, Sheri shares family stories, product information and anything that fits into her (and her family’s) daily activities.


Comments on this entry are closed.
Those are so adorable! Thanks for posting.
Thanks. I’m already pulling out more old shirts.
Well done, those are cute summer dresses and cuter girls! Very good directions.
Thanks – they are excited to wear them this summer.